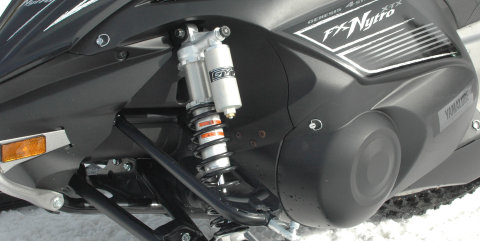
Suspensions are often a neglected component on a snowmobile. If you just bought a snowmobile or if you’re going to the dealer to pick up your new sled, chances are the suspension isn’t calibrated to you or your riding style. This is an area where we feel the dealer should go over the suspension with ninja turtle bounce house you and in detail explain the adjustments to you and perform the adjustments necessary to optimize your riding experience. In reality, dealers simply leave the suspension set at the factory setting. That means you’re going to have to do your own suspension calibration.
 The technology in these components are high tech and do require mechanical ability to understand what the suspension is doing and what to adjust in order to get a better ride. We went back to school to the Yamaha Motor University to study suspension calibration. Our goal is to take what we learned and pass it on to you. The basics will apply for most makes and models but we are going to focus on two rear suspensions and one front suspension from Yamaha.
Yamaha sets their suspensions from factory to a setting that is usually about in the middle of their operating range. This is right around a 200lb rider with gear. In most cases, the only adjustment you will need to make to the rear suspension is the sag adjustment.
When working with suspensions you are working with the front suspension (felt through the hands), center shock (felt through the feet) and the rear shock (felt through the seat). Always keep in mind that when you make a change to the front, it will affect the rear of the sled and vice versa. When making changes do it in small increments. We highly recommend taking notes and writing down the changes you made. Even the best of us can lose track when adjusting these sophisticated suspension systems.
To make things easier, we’ve put together this short video to help you understand the simple adjustments that can make your ride outstanding.
